Damaged equipment report… three words no rental business owner wants to deal with, but everyone eventually does. When equipment comes back damaged, emotions run high, and details get fuzzy. That’s why having a clear, repeatable way to document damage matters.
In this guide, we’ll show you exactly how to create a damaged equipment report that protects your inventory, your team, and your bottom line without slowing down your operation.
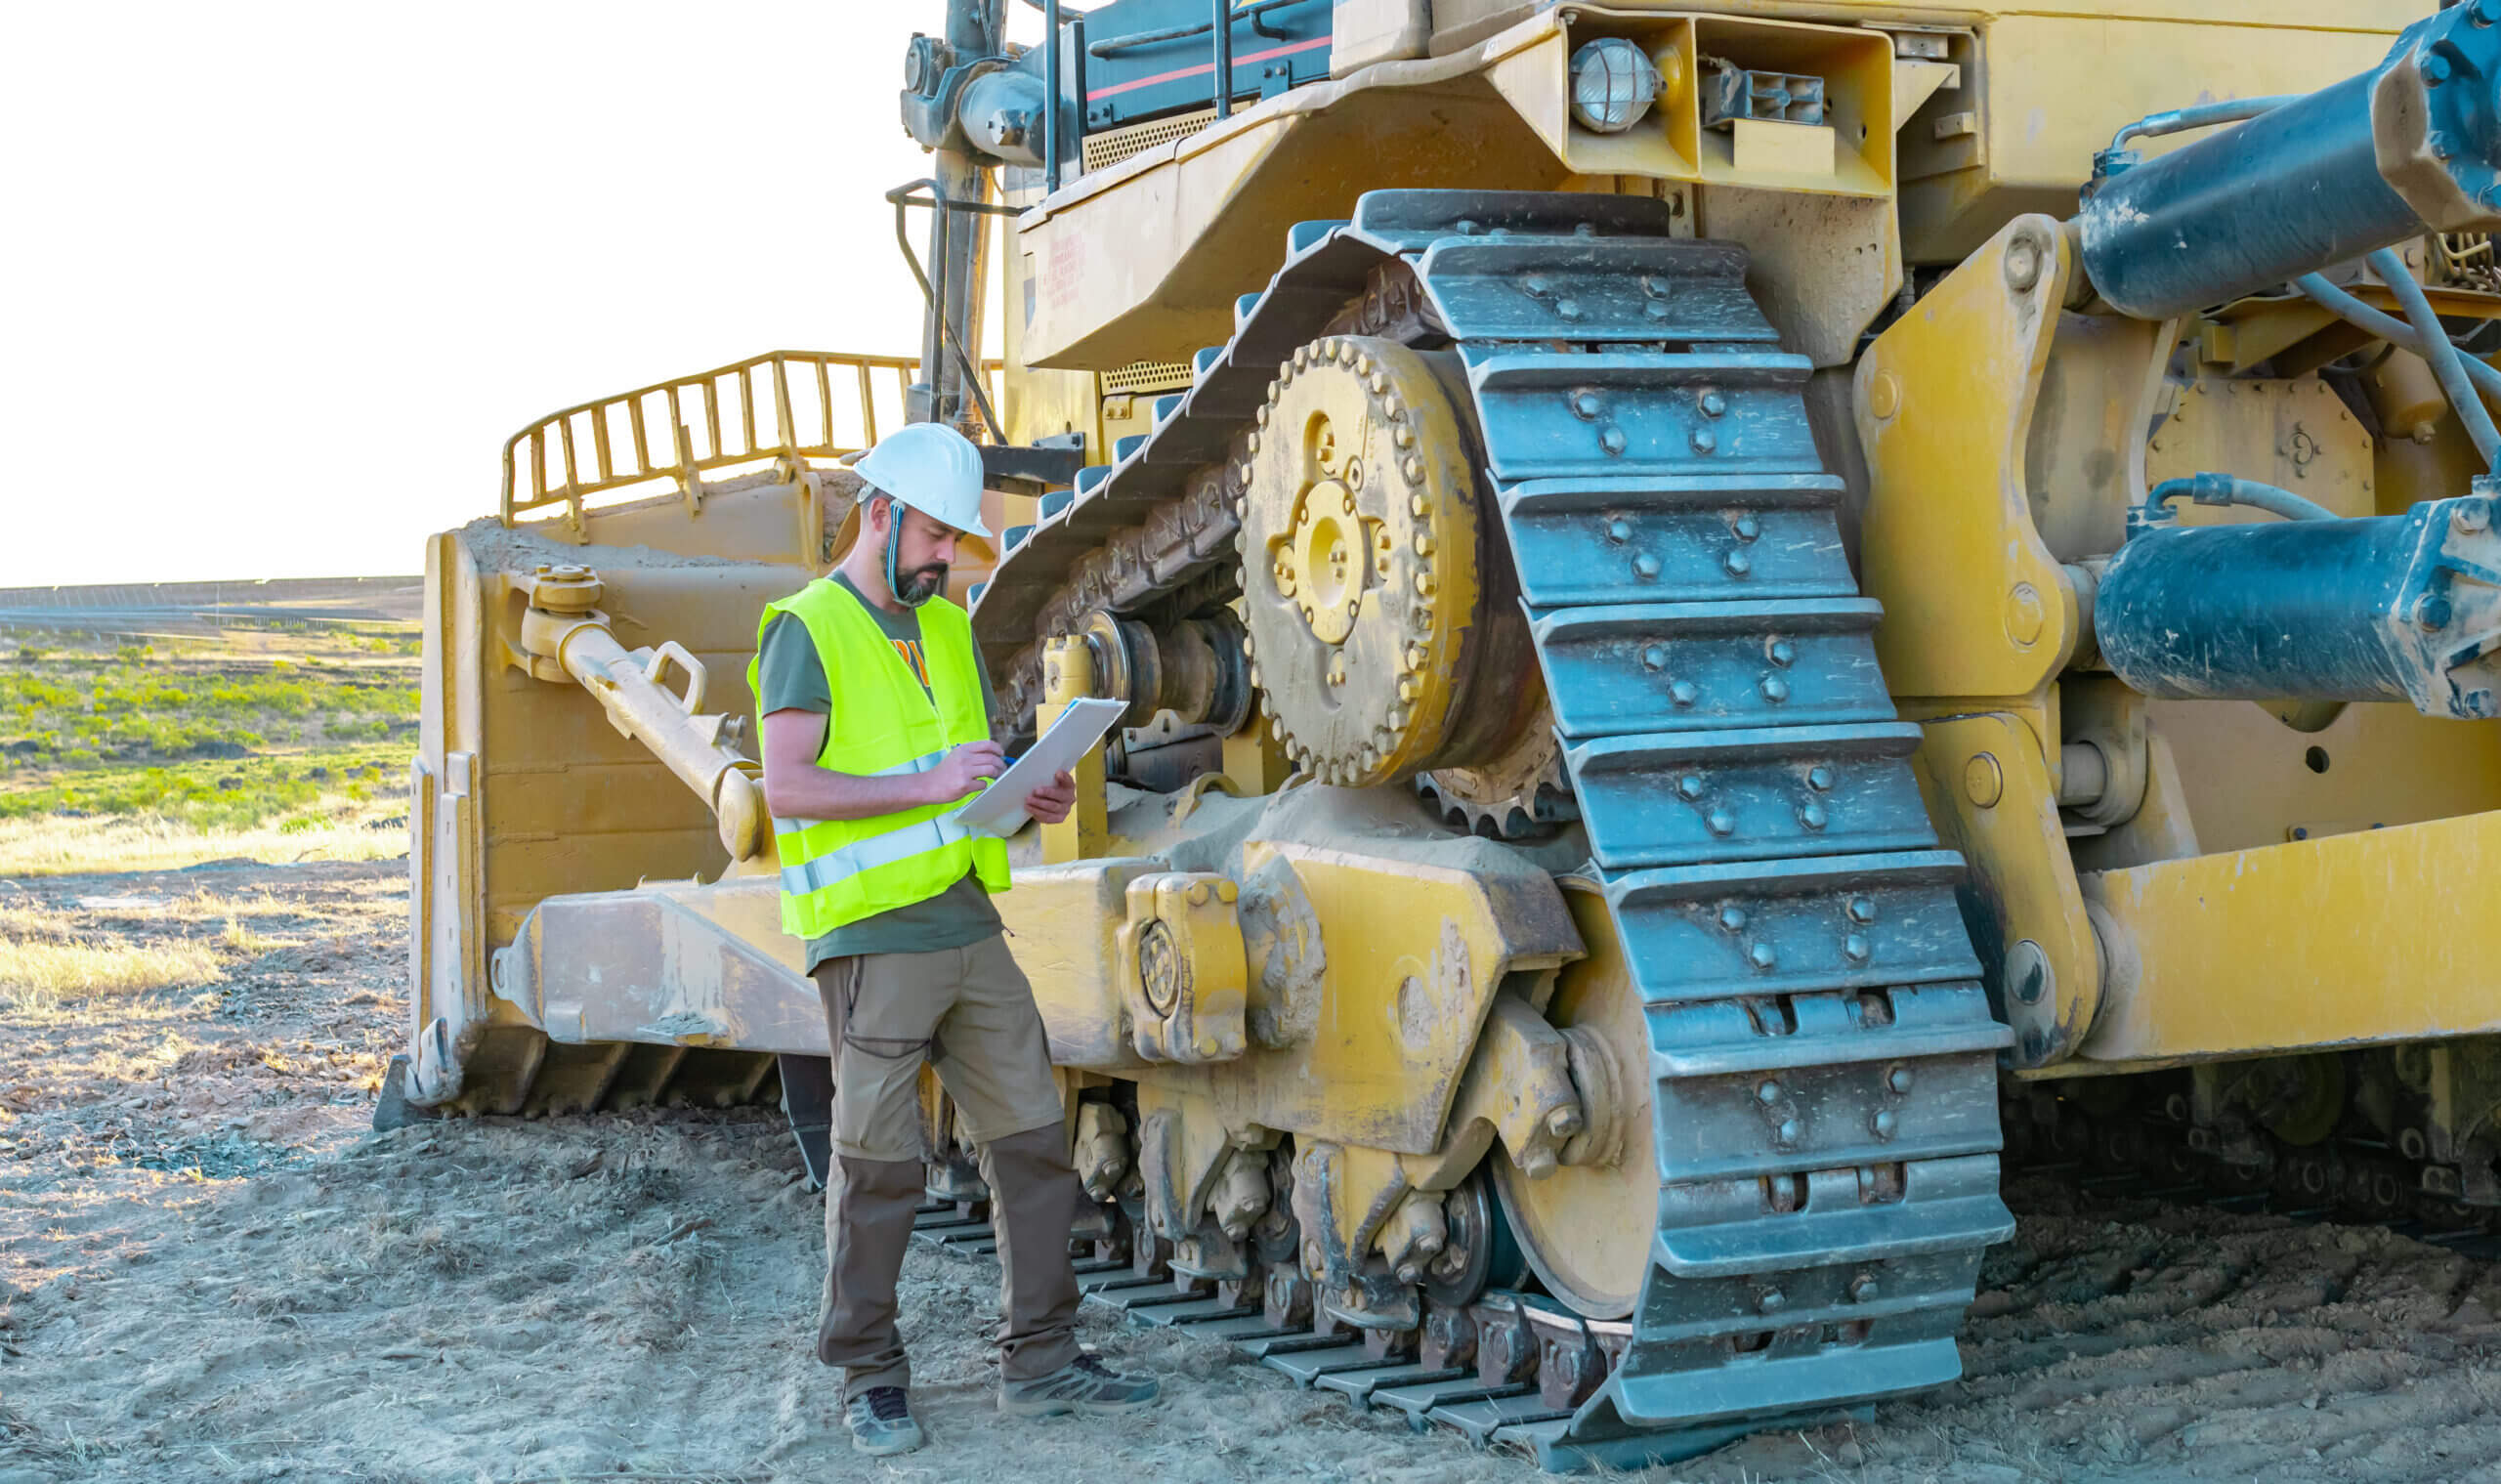
Table of Contents
What Is a Damaged Equipment Report?
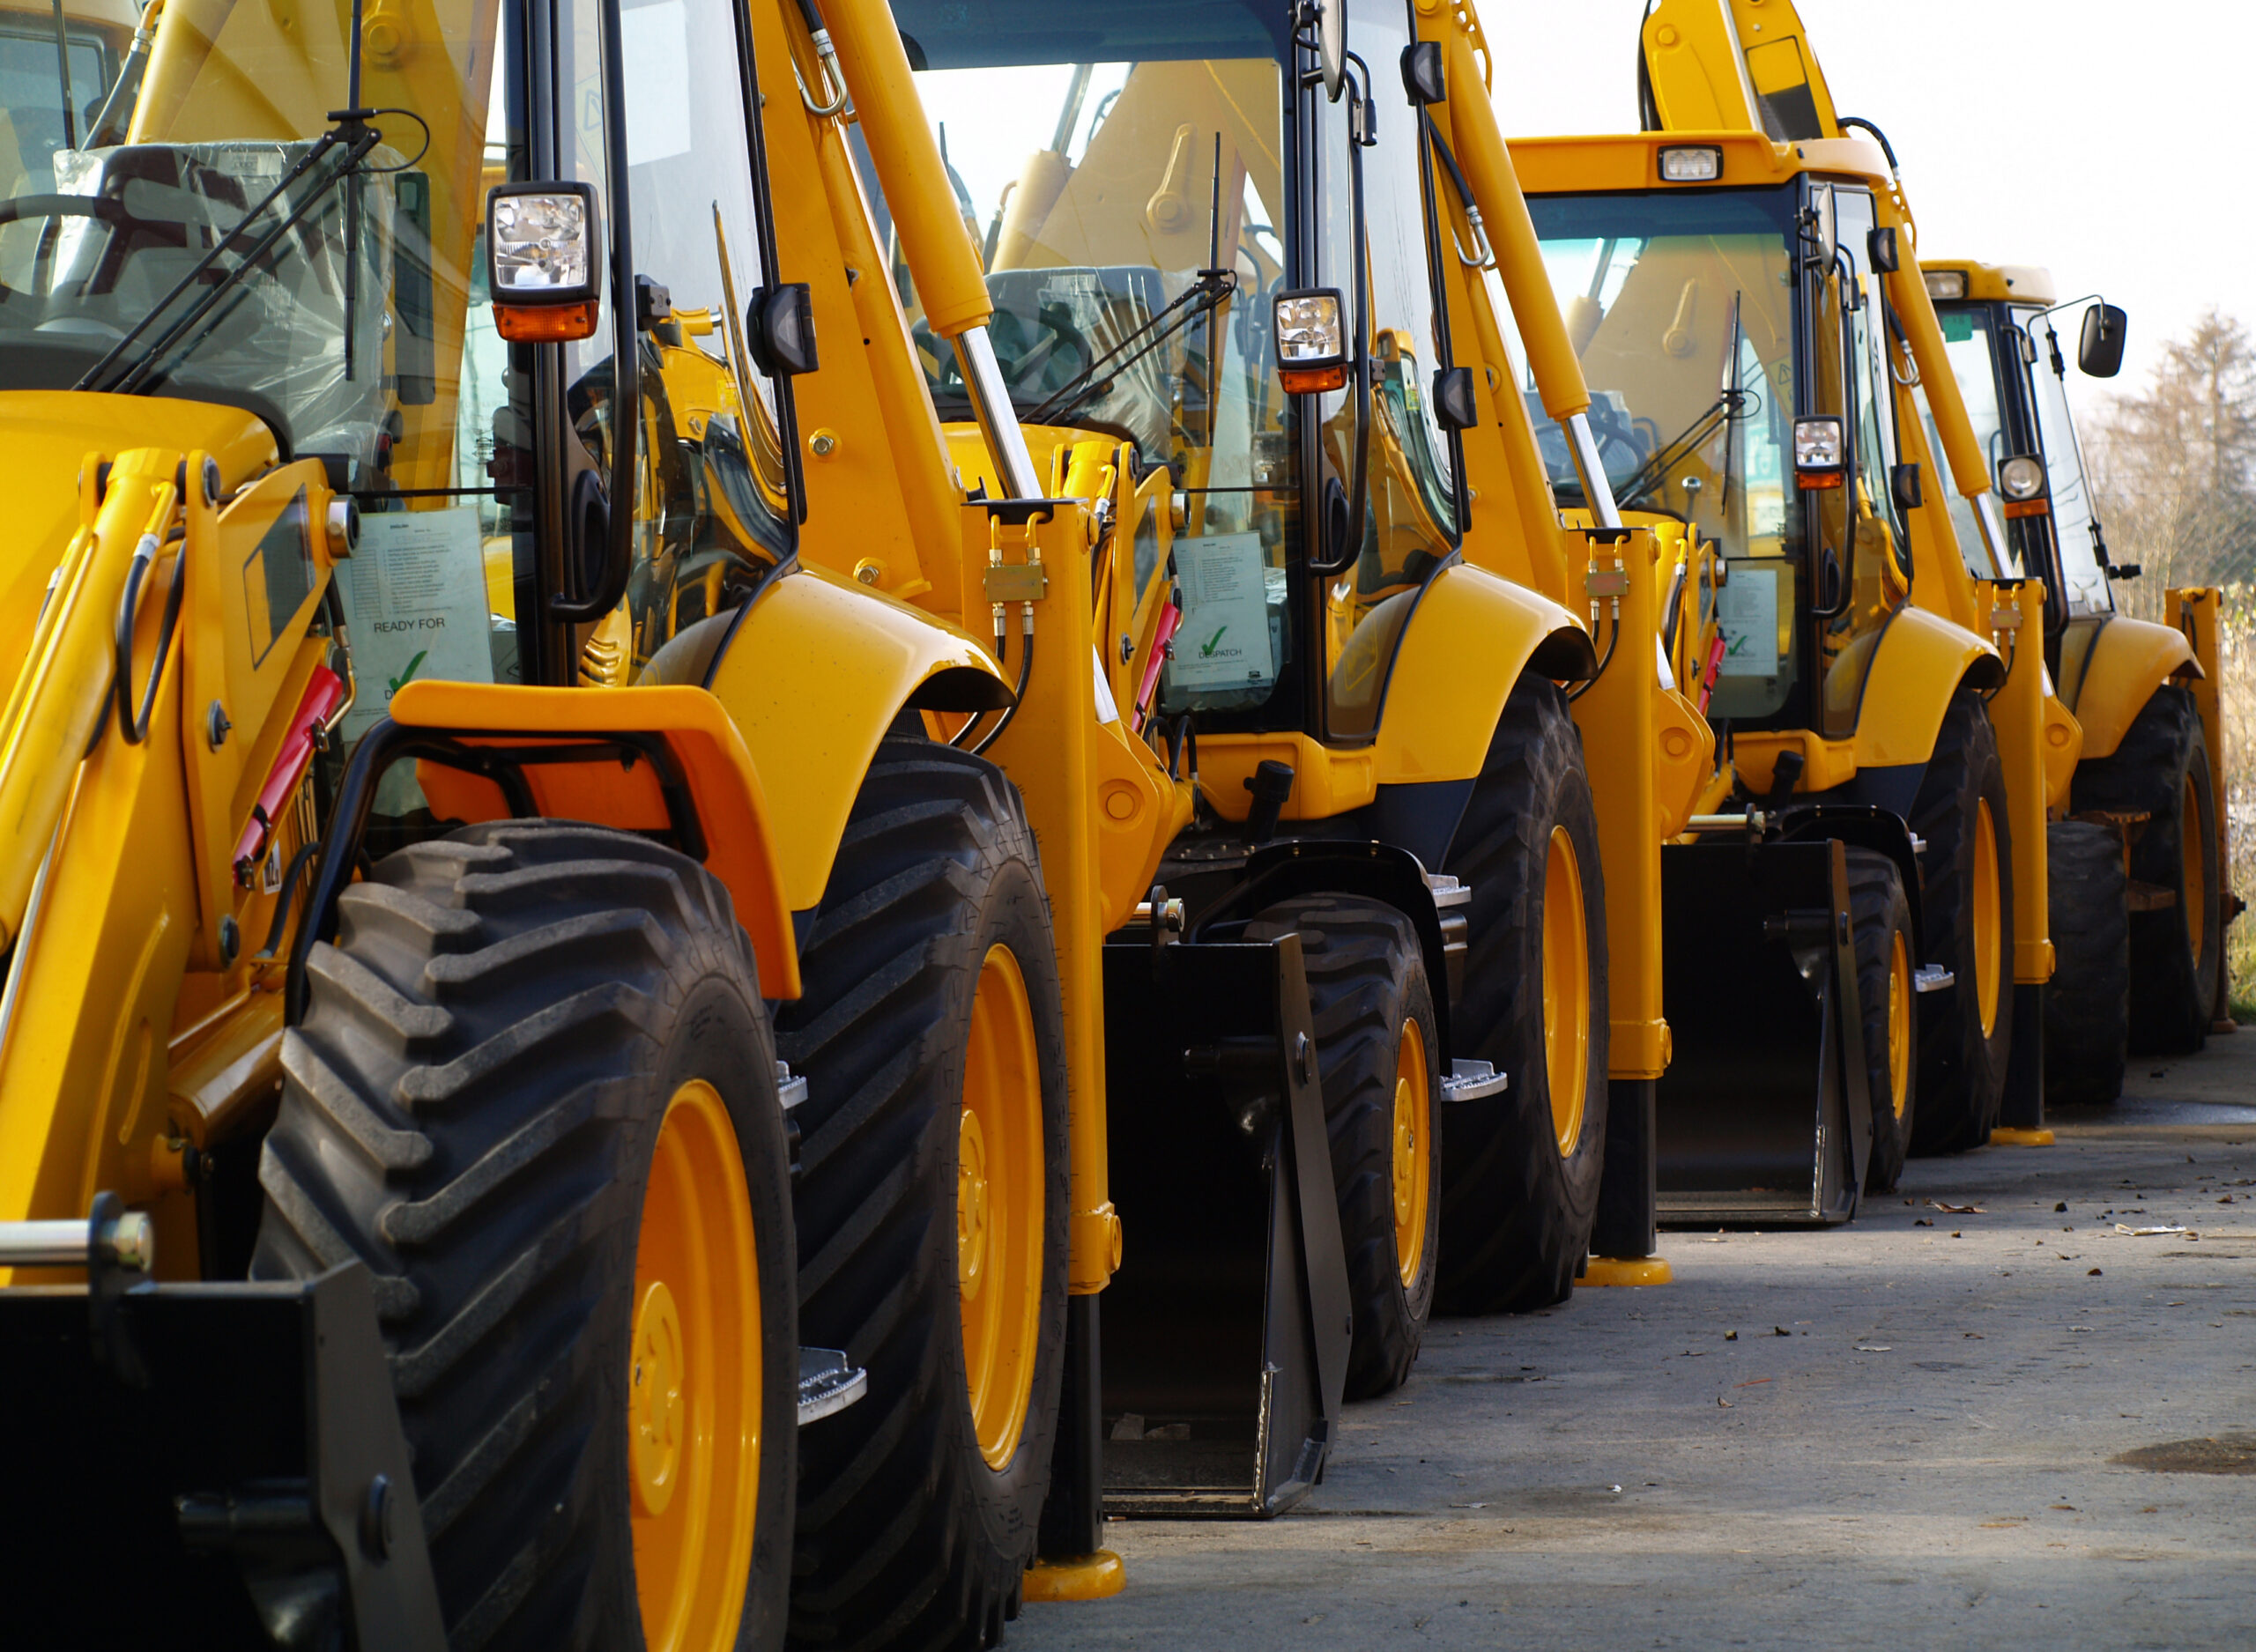
A damaged equipment report is a simple record used by tool and equipment rental businesses to document when equipment is found damaged, the nature of the damage, and the next steps.
For example, a skid steer is returned from a rental. During the inspection, a yard tech notices a bent step or a hydraulic leak. They complete a damaged equipment report, take photos, remove the unit from service, and flag it for repair before returning it to service.
These reports are used after returns, accidents, inspections, or breakdowns. They’re typically completed by counter staff, technicians, or supervisors to ensure damage is documented clearly and handled promptly.
When You Need a Damaged Equipment Report
In a tool and equipment rental operation, the safest rule is simple: if you notice damage, document it. A damaged equipment report creates a clear record of what was found and when, helping avoid confusion later. That said, not every scuff or cosmetic mark needs a full report.
Here are the most common situations where a damaged equipment report is necessary.
- Equipment returned damaged by a customer
- Damage discovered during routine inspection
- Incidents during transport or setup
- Mechanical failure during use
While it is generally best practice to document any damage to equipment, you can bypass this process for expected wear and tear. Minor and expected wear, like light scratches, dirt, or normal tire wear, usually doesn’t require a formal damaged equipment report. These are part of regular use and can often be handled through routine cleaning or maintenance notes instead.

What to Include in a Damaged Equipment Report
A damaged equipment report works best when it’s clear, consistent, and easy to complete. Below, we break down the most important fields to include and explain why each one matters in a tool and equipment rental operation, so damage doesn’t get missed, misunderstood, or argued about later.
1. Equipment Identification Details
Every damaged equipment report should start with clear equipment identification. This includes the equipment name, asset ID or serial number, and category (for example, skid steer, scissor lift, plate compactor, or generator).
In a tool-and-equipment rental business, this matters more than people realize. Many yards have multiple units that look almost identical. If a report only says “skid steer” or “lift,” it’s easy for damage to be tied to the wrong machine. That’s how disputes start, repairs get delayed, and the wrong customer gets blamed.
Accurate identification makes sure:
- The right unit is taken out of service
- Repairs are scheduled correctly
- Damage charges, if any, are tied to the correct rental
2. Date, Time, and Location of Damage
A damaged equipment report should clearly record when and where the damage was discovered. If it’s known, it should also note when the damage is likely to have occurred. These are two different things, and mixing them up can cause problems later.
In a rental operation, damage is often found after the fact; this may occur during a return inspection, a yard check, or a pre-rental walk-around. Documenting the exact date, time, and location helps establish a clear timeline and removes guesswork.
Timestamps matter because they:
- Support insurance claims and loss documentation
- Help with internal audits and equipment history tracking
- Clarify whether damage happened during a rental, transport, or storage
3. Description of the Damage
This section is where clarity matters most. The damage description should explain what is damaged and how, using simple, factual language. Avoid opinions, blame, or guesses about what caused the issue. The goal is to describe the condition of the equipment as it was found.
For tool and equipment rental teams, a good damage description helps technicians understand what they’re walking into and prevents misunderstandings with customers. Vague notes like “broken” or “not working” don’t help anyone.
Instead of writing “machine damaged,” a clear report states: “Right-side guardrail bent inward approximately two inches. Paint scratched to bare metal. Unit powers on, but guardrail is no longer secure.”
A strong description answers:
- What part is damaged
- What the damage looks like (bent, cracked, leaking, missing)
- Whether the equipment is still operational or unsafe to use
4. Photos and Visual Evidence
Photos turn a damaged equipment report from “someone’s notes” into clear proof. In a tool and equipment rental business, photos help settle questions quickly – what was damaged, how badly, and when it was discovered.
When taking photos, capture:
- A wide shot showing the full piece of equipment
- Close-ups of the damaged area
- A photo that includes the asset ID or serial number when possible
Avoid common mistakes like blurry images, poor lighting, or photos taken too close with no context. A clear photo that shows where the damage is on the machine is far more useful than five close-ups that no one can place.
5. Cause of Damage (If Known)
If the cause of damage is clear, it should be noted. Common options include accidental damage, misuse, normal wear and tear, or transport-related issues. Just as important, though, is the option to mark the cause as unknown.
In a tool-and-equipment rental operation, damage is often discovered after the fact. Guessing how it happened can create problems, especially if the report is later used for customer charges, insurance claims, or internal reviews.
Marking “unknown” is better than guessing because it:
- Keeps the report factual and defensible
- Avoids unfairly assigning blame
- Prevents inconsistencies if new information comes up later
6. Immediate Actions Taken
This section explains what was done right away after the damage was discovered. In a tool and equipment rental operation, quick action can prevent further damage, reduce safety risks, and limit downtime.
Common immediate actions include:
- Removing the equipment from service and tagging it
- Locking out or disabling unsafe equipment
- Performing temporary repairs to prevent further damage
- Notifying a supervisor or maintenance team
Documenting these steps shows that the issue was taken seriously and handled responsibly. It also helps the next person who reviews the report understand the equipment’s current status.
7. Repair, Maintenance, or Follow-Up Notes
This section connects the damage report to the next steps. Without it, reports tend to get filed away while damaged equipment sits longer than it should.
For tool and equipment rental teams, these notes help move equipment from “damaged” to “back in service” as efficiently as possible. This section doesn’t need final answers—just the next clear step.
Typical details include:
- Whether a repair is required
- An estimated repair cost, if known
- Current repair status (pending, in progress, completed)
- Who is responsible for follow-up, such as a technician, manager, or outside vendor
Documenting this information improves accountability, reduces downtime, and makes it easier to track repair costs over time. A damage report should start the repair process, not stall it.
Related: Best Equipment Maintenance Tracking Software | Features & Recommendations

Paper Forms vs. Digital Damage Reports | Which Is Better?
Many tool and equipment rental businesses still rely on paper damage report forms, and for good reason. Paper is fast, familiar, and easy to use in the yard or at the counter when equipment comes back. The risk, of course, is that paperwork can be misplaced or damaged.
That’s why it’s smart to look for rental software that lets you upload and attach documents directly to an order. Using a hybrid approach works best.
Complete a physical damage report when the issue is discovered, then upload a copy along with photos and timestamps. This keeps the damage documentation tied to the exact rental where it occurred.
Paper captures the moment. Digital storage keeps the record safe, searchable, and easy to reference later, especially when questions come up weeks or months down the line.
Turn Damage Reports Into Better Operations
Damage is part of running a tool and equipment rental business—but confusion, disputes, and lost paperwork don’t have to be. A clear, detailed equipment damage report helps your team document issues quickly, protect your assets, and keep equipment moving through repair rather than sitting idle.
When reports are consistent and tied to the right rental, everyone wins: your staff, your customers, and your bottom line.
Frequently Asked Questions
A damaged equipment report is a record used to document when rental equipment is found damaged, the nature of the damage, and the actions taken next.
Inspect the equipment, document the damage clearly, record the date and location, take photos, and note what actions were taken. Stick to facts and avoid assumptions.
A report should be completed as soon as damage is discovered — typically during returns, inspections, after incidents, or when equipment fails during use.
Remove the equipment from service if needed, document the damage with photos, complete a damage report, and notify the appropriate team for follow-up.
Equipment identification, date and location, damage description, photos, people involved, immediate actions taken, and repair or follow-up notes.